
With professional restyling shops quoting anywhere between $2,500 and $4,500 for a full vehicle wrap, many hands-on Tesla owners wonder if they can tackle the project in their home garage. The explosion of computer pre-cut wrap kits—tailored specifically to Model 3, Model Y, and Cybertruck body panel dimensions—has made DIY wrapping more accessible than ever before.
However, wrapping an entire automotive body requires substantial patience, dust-free environmental control, and precise heat management. Below is an honest, technician-level evaluation comparing DIY wrap kit costs against certified professional shop installations, complete with a tool checklist and emergency troubleshooting guide.
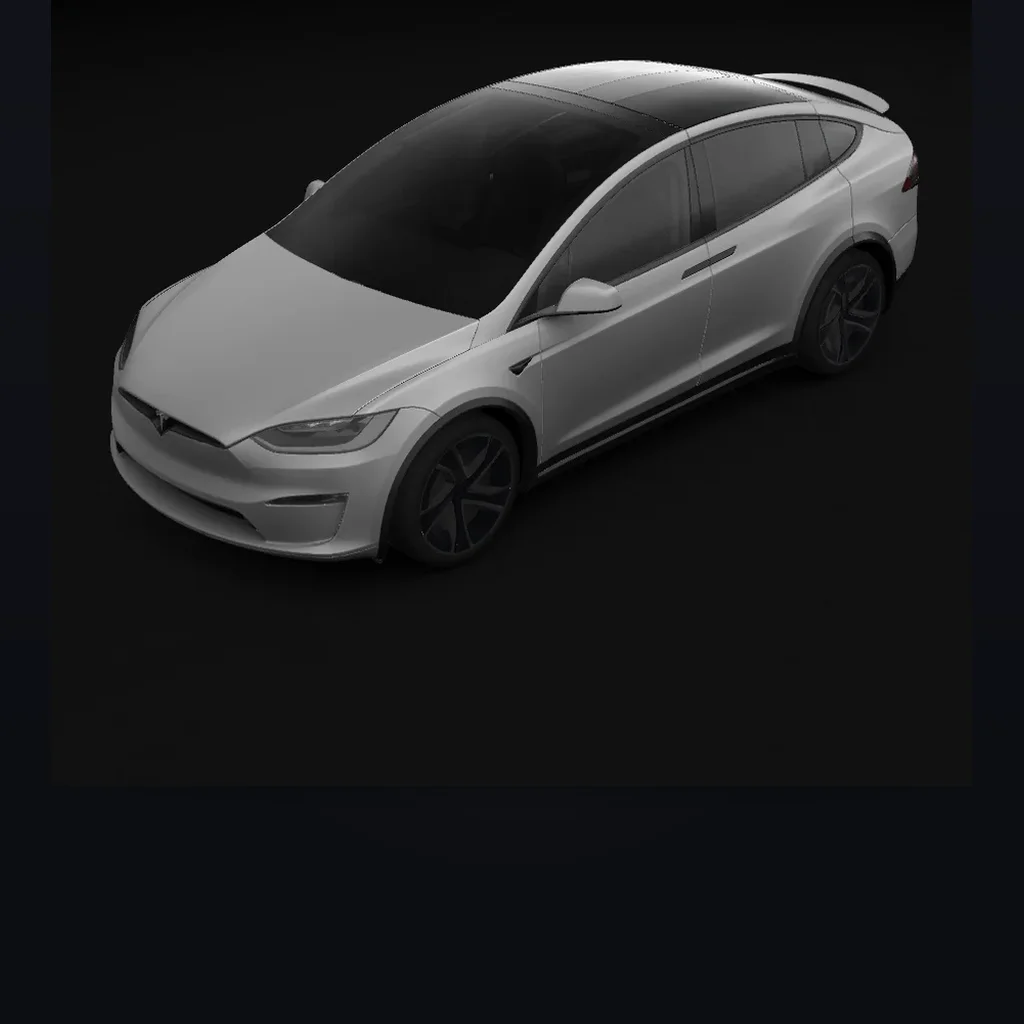
DIY pre-cut wrap kits significantly reduce measuring and cutting errors, but successful application demands strict temperature control and clean surface prep.
DIY Pre-Cut Wrap Kit vs. Professional Shop: The Real Costs
Before purchasing a roll of vinyl online, calculate the total true investment in tools, time, and potential material waste:
| Comparison Dimension | DIY Pre-Cut Wrap Kit | Professional Restyling Shop |
|---|---|---|
| Direct Financial Cost | $650 – $1,200 (Kit + Essential Tools) | $2,400 – $3,800 (All-inclusive turnkey) |
| Time Investment Required | 25 to 40 hours across a long weekend | Zero personal labor (car dropped off for 3–4 days) |
| Workspace Requirement | Clean, well-lit enclosed garage (65°F–75°F / 18°C–24°C) | Climate-controlled cleanroom installation bay |
| Material Scrap Risk | High (accidental creasing ruins pre-cut panels) | Zero (shop bears all replacement material overhead) |
| Edge Finish Quality | Visible panel relief seams; minimal edge tucking | Completely disassembled trim; seamless hidden wraps |
| Durability Guarantee | No warranty against installer errors or lifting | 3 to 7 years warranty covering bubbling and edge peel |
Essential Tool Checklist for DIY Tesla Wrapping
Attempting to wrap a vehicle with household items is a recipe for scratched paint and ruined film. Certified installers recommend this core tool arsenal:
- Digital Variable Heat Gun: Essential for softening film and locking in adhesive memory. Never substitute an open-flame blowtorch, which easily scorches vinyl and damages clear coats.
- Infrared Laser Thermometer: Required to verify post-heating temperatures (195°F–215°F / 90°C–102°C) along recessed edges.
- Buffer-Tipped Felt Squeegees: Soft micro-felt buffers prevent scratching delicate gloss or satin vinyl surfaces during smoothing.
- 3M Knifeless Design Tape: Eliminates the need to use utility blades anywhere near your Tesla’s delicate factory paint.
- Surface Prep Decontamination: 70% Isopropyl Alcohol (IPA) dilution and micro-fiber clay bars to remove microscopic grease, road tar, and rail dust.
- Strong Magnetic Grip Clamps: Hold heavy vinyl panels in position while you peel the protective release liner.
Common DIY Installation Pitfalls and Emergency Salvage
Even with pre-cut kits, novice installers encounter predictable physical hurdles. Here is how to diagnose and correct them before ruining a panel:
| Common DIY Wrap Failure | Root Physical Cause | Prevention Technique | Emergency Salvage / Recovery |
|---|---|---|---|
| Silvering / Discoloration | Overstretching vinyl while cold | Gently heat film to 120°F (50°C) before pulling | Warm film with heat gun; cast memory will restore pigment |
| Fingering / Edge Popping | Insufficient post-heating temperature | Post-heat perimeter to 200°F (93°C) | Trim excess tension with knifeless tape; apply primer 94 |
| Trapped Dust Pockets | Contaminated garage air or static cling | Mop garage floor; wipe car twice with 70% IPA | Pierce bubble side with needle; smooth toward pinhole |
| Creasing on Compound Curves | Pulling vinyl in multiple directions | “Glass” the vinyl by stretching tension across corners | Lift vinyl back up, apply mild heat, and allow it to relax |
How to Successfully Wrap a Panel: The 5-Step Process
If you choose to attempt a DIY wrap, follow this disciplined sequence on a simple panel (such as a door or rear quarter panel) first:
- Deep Surface Decontamination: Wash the car with dish soap to strip road wax. Clay-bar every square inch to remove embedded fallout, followed by a double wipe-down using 70% isopropyl alcohol.
- Anchor the Panel with Magnets: Position the pre-cut vinyl sheet against the panel using magnetic holders, ensuring equal overhang on all four sides.
- Peel the Liner and “Glass” the Film: Peel half the backing paper. Pull the vinyl outward toward the corners with light tension until the entire face appears glass-smooth without wrinkles.
- Squeegee from Center Outward: Using your felt squeegee at a 45-degree angle with overlapping strokes, push air out through the vinyl’s microscopic air-release channels toward the edges.
- Post-Heat and Edge Tuck: Once the face is flat, warm the edges to 200°F (93°C) and firmly tuck the excess vinyl behind the panel gaps using a tucking squeegee.
Visualize Your Project Before Buying Materials
Before investing $800 in a DIY kit, test how your chosen finish and color look across accurate Tesla vehicle geometry.
Ready to explore? Preview Your Custom Tesla Wrap in Real-Time 3D right in your browser.
Related Guides and Reading
- How Much Does It Cost to Wrap a Tesla in 2026? — Comprehensive price breakdown covering vinyl materials, labor hours, and shop fees.
- Tesla Model 3 Wrap Guide: Top Colors, Costs and DIY vs Pro Shop — Full breakdown on wrapping the popular Model 3 sedan.
- Tesla Vinyl Wrap vs. Paint Protection Film (PPF) — Evaluate thin vinyl color changes against thick self-healing TPU armor.
- Best Tesla Wrap Colors: Top Trends, Finishes and 3D Preview — Popular satin black, nardo grey, rose gold, and chameleon wrap trends.